My Kitchen Was Dark and Depressing — Here’s How I Fixed It Without Renovating
I used to dread walking into my kitchen in the morning. The overhead light buzzed and flickered. The dark cabinets sucked every last drop of brightness out of the room. The counters felt cluttered no matter how much I cleaned them. Every meal I cooked in there felt like a chore, not a pleasure. And the worst part? I thought the only way to fix it was a full kitchen renovation — which, at $15,000 to $50,000, was nowhere in my budget.
So I did what most homeowners do: I ignored it and kept complaining. Until one weekend, I decided to stop waiting for a renovation I couldn’t afford and start making changes I actually could.
What I discovered changed everything. My kitchen lighting problems, dark cabinets, and gloomy kitchen atmosphere were all fixable — without demolition, without contractors, and without blowing my savings. Here’s exactly what I did, what worked, what didn’t, and how you can do the same thing at your home with the help of guides from Well Home Life.
Why My Kitchen Felt So Dark and Uninviting
Before I could fix the problem, I needed to understand it. A dark kitchen doesn’t usually come from just one issue — it’s a layered combination of choices that add up over time.
In my case, the culprits were:
- Poor overhead lighting that cast harsh shadows instead of spreading warmth
- Dark wood cabinets that absorbed light instead of reflecting it
- Zero natural light — a classic windowless kitchen with no sunlight entering at all
- Heavy decor absorbing light, including dark curtains and a nearly black rug
- Too much visual clutter on every surface, which made the small dark kitchen feel even more cramped
The combination created what I call a “depressing kitchen design” — a space that felt oppressive rather than inviting. Once I identified each problem individually, I realized that most of them were cosmetic issues, not structural ones. That’s a big deal, because cosmetic problems are almost always fixable without a renovation.
The Biggest Mistake I Almost Made
I almost hired a contractor. I had three quotes on my desk for a kitchen makeover without renovation — and by ‘without renovation,’ I mean each contractor wanted to rip out my cabinets, redo the flooring, and install new appliances. The cheapest quote was $11,000.
Then I started researching budget kitchen makeover options and realized something important: the changes that make the biggest visual difference are mostly cosmetic kitchen updates. Paint, lighting, hardware, and decluttering account for about 80% of how a kitchen looks and feels. Demolition accounts for the other 20% — but costs 10x more.
I put down those contractor quotes and picked up a paintbrush instead. That decision saved me thousands and taught me more about affordable kitchen refresh strategies than I ever expected to learn.
💡 You don’t need a new kitchen. You need a new perspective — and the right budget kitchen makeover plan.
1. I Switched to Brighter Paint Colors
The single biggest transformation came from paint. I’m not exaggerating — it changed the entire mood of the space overnight.
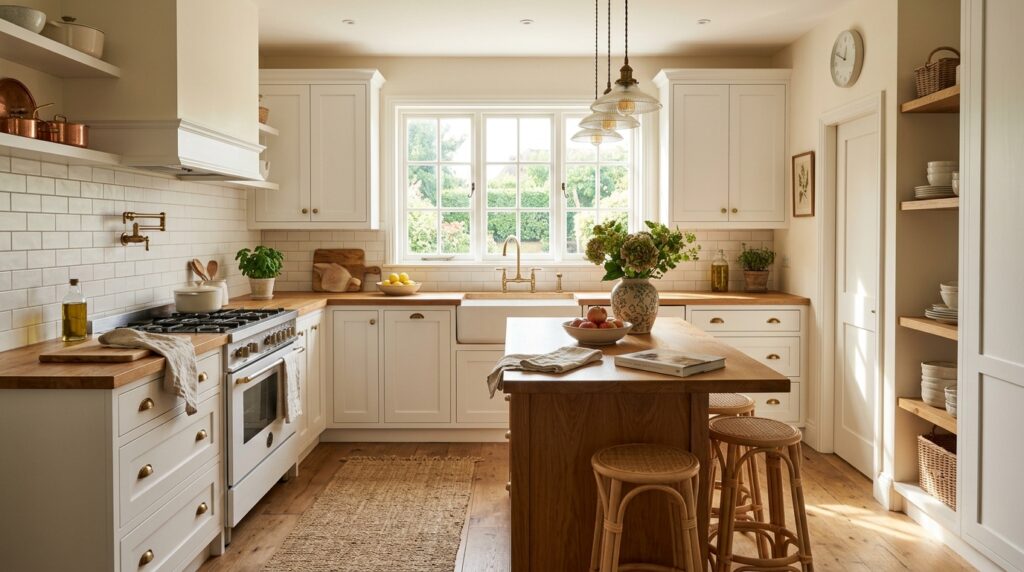
I tested five different light kitchen paint colors on sample boards before committing. Warm whites beat cool whites every time in my kitchen. Cool whites (the ones with a blue or gray undertone) can actually make a dark kitchen feel colder and more sterile. Warm whites and soft creams bounce light back into the room in a way that feels natural and cozy.
My final choice was a warm off-white for the walls. But the real game-changer was painting the cabinets. I used a satin-finish cabinet paint in bright white — and the contrast it created instantly made the space feel bigger and more polished. This is sometimes called “color drenching” in reverse: instead of wrapping a room in one deep color, you’re wrapping it in light.
The best part? The entire paint project — walls, cabinets, and trim — cost me under $120. That’s the best ROI of any bright kitchen color change you can make.
2. I Upgraded the Kitchen Lighting
After paint, kitchen lighting ideas made the second biggest difference. My original overhead light was a single recessed bulb in the ceiling — technically functional, visually miserable. It created strong shadows under cabinets and made food look unappetizing.
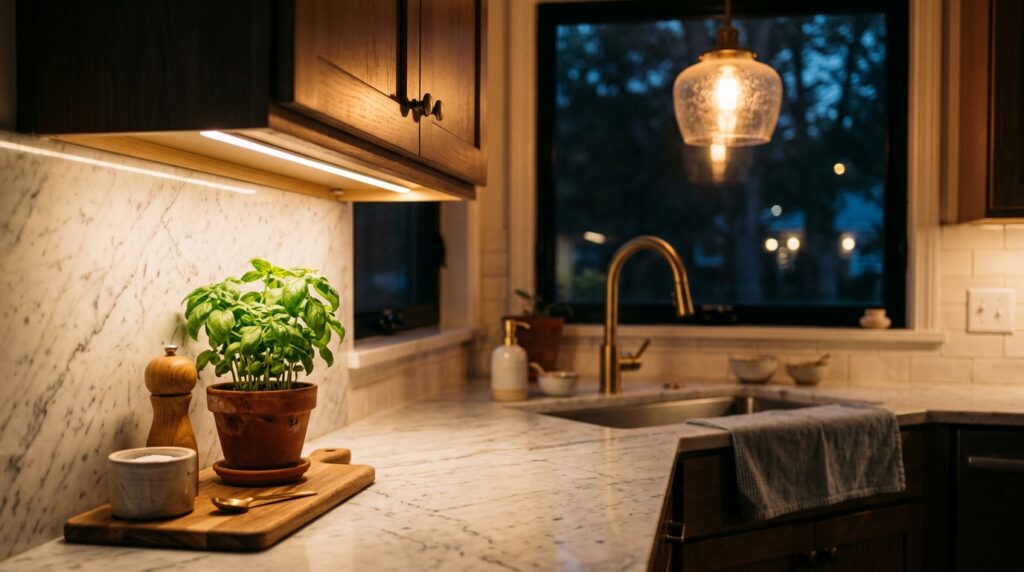
I made three lighting upgrades:
- Replaced the overhead bulb with a warm, high-lumen LED panel (2700K color
- temperature)
- Added plug-in under cabinet lights along every counter run — these are incredibly cheap on Amazon and take 20 minutes to install
- Added a small pendant light over the sink area for atmosphere
The difference between warm lighting kitchen setups and harsh cool-white bulbs is dramatic. Warm LED kitchen lights (2700K–3000K) mimic natural evening light and make food, wood, and stone surfaces look their best. Cool bulbs (5000K+) feel clinical and unflattering.
Layered lighting — meaning multiple light sources at different heights — is the professional design trick that makes kitchens feel expensive. You don’t need an electrician. Plug-in options exist for almost every kitchen lighting idea on this list.
💡 Under cabinet lights alone will transform how your kitchen feels at night. Install them first — they’re the highest-impact change per dollar.
3. I Used Mirrors and Reflective Decor
Here’s a trick most people skip: reflective surfaces kitchen designers use to brighten small kitchen layouts — and they cost almost nothing.
I swapped my matte backsplash tile for a glossy backsplash alternative and immediately noticed how the room looked brighter. Glossy surfaces bounce light around the room instead of absorbing it. I also added:
- Glass jars and canisters on the open shelves (vs. opaque containers)
- Metallic accents in silver and gold — a towel ring, cabinet pulls, a small mirror mounted near the window
- A small decorative mirror on the wall opposite the window to bounce any available natural light
You don’t need mirrors in kitchen spaces to be huge. Even a small round mirror between cabinets adds depth and helps reflect light into darker corners. The effect is subtle but it layers beautifully with the paint and lighting upgrades.
4. I Removed Visual Clutter
I didn’t realize how much the clutter was weighing on me until I cleared it. Declutter kitchen projects are free — and they deliver an immediate psychological lift.
I cleared every countertop down to the bare essentials: coffee maker, knife block, and one small plant. Everything else went into cabinets, a drawer organizer, or the donation bin. I also replaced two bulky upper cabinets with open shelving kitchen floating shelves, which opened up the wall visually and made the room feel less like a storage unit.
Organized kitchen ideas don’t have to be complicated. The rule I follow now: if it doesn’t get used at least three times a week, it doesn’t live on the counter. Hidden storage tricks — like tension rod dividers inside deep drawers and lazy Susans in corner cabinets — helped me fit everything away without buying new furniture.
A minimalist kitchen isn’t necessarily one with no personality. It’s one where every item on display earns its spot.
5. I Added Small Decor That Changed the Mood
After stripping everything back, I added a curated selection of cozy kitchen decor — this time with intention.
- Kitchen plants: A pothos on a floating shelf and a small herb garden on the windowsill. Green plants bring life and warmth into any space, especially a windowless kitchen.
- A woven jute rug in front of the sink — light-colored, not dark, to keep the floor feeling bright.
- Wood accents: a wooden cutting board displayed upright, a small bamboo tray for the coffee station. Wood adds warmth to any kitchen styling tips guide.
- Fresh dish towels in soft, warm colors hung on the oven handle.
These warm kitchen ideas cost me a total of about $60. The difference between a cold, clinical kitchen and a cozy one often comes down to a few carefully chosen textiles and natural materials.
6. Peel-and-Stick Upgrades Made a Huge Difference
If you rent, or if you want a temporary backsplash without tile work, peel and stick backsplash panels are a revelation. I installed a white subway tile peel-and-stick panel behind the stove — it took two hours, required no tools, and looked genuinely expensive.
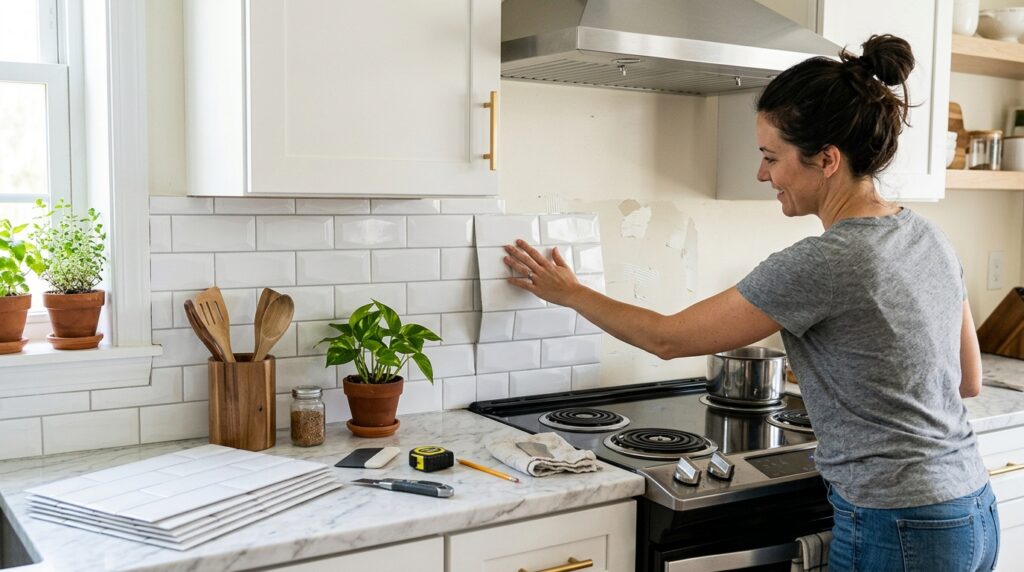
I also used countertop contact paper in a light marble print to resurface a section of my laminate countertop that had seen better days. It went on smoothly, looked great, and is completely removable. For renter friendly kitchen ideas, this is one of the best budget kitchen upgrades available.
These DIY kitchen makeover materials are widely available at hardware stores and online for $20–$60 per project. They’re not permanent, but they photograph beautifully and hold up well with light use.
💡 Peel-and-stick materials work best on clean, smooth surfaces. Take time to prep properly and they’ll look polished, not cheap.
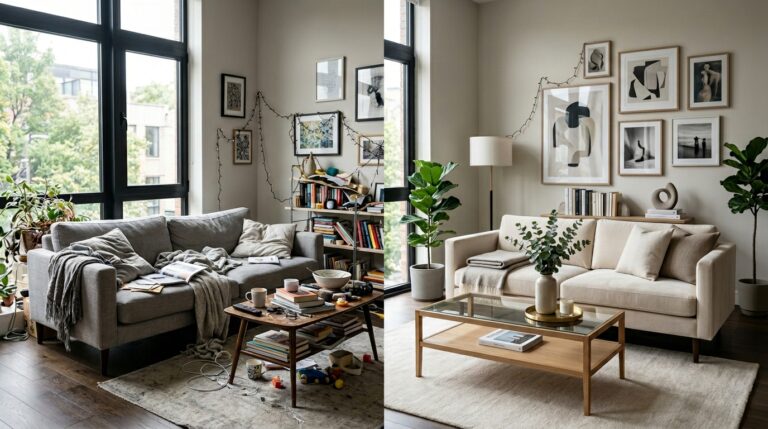
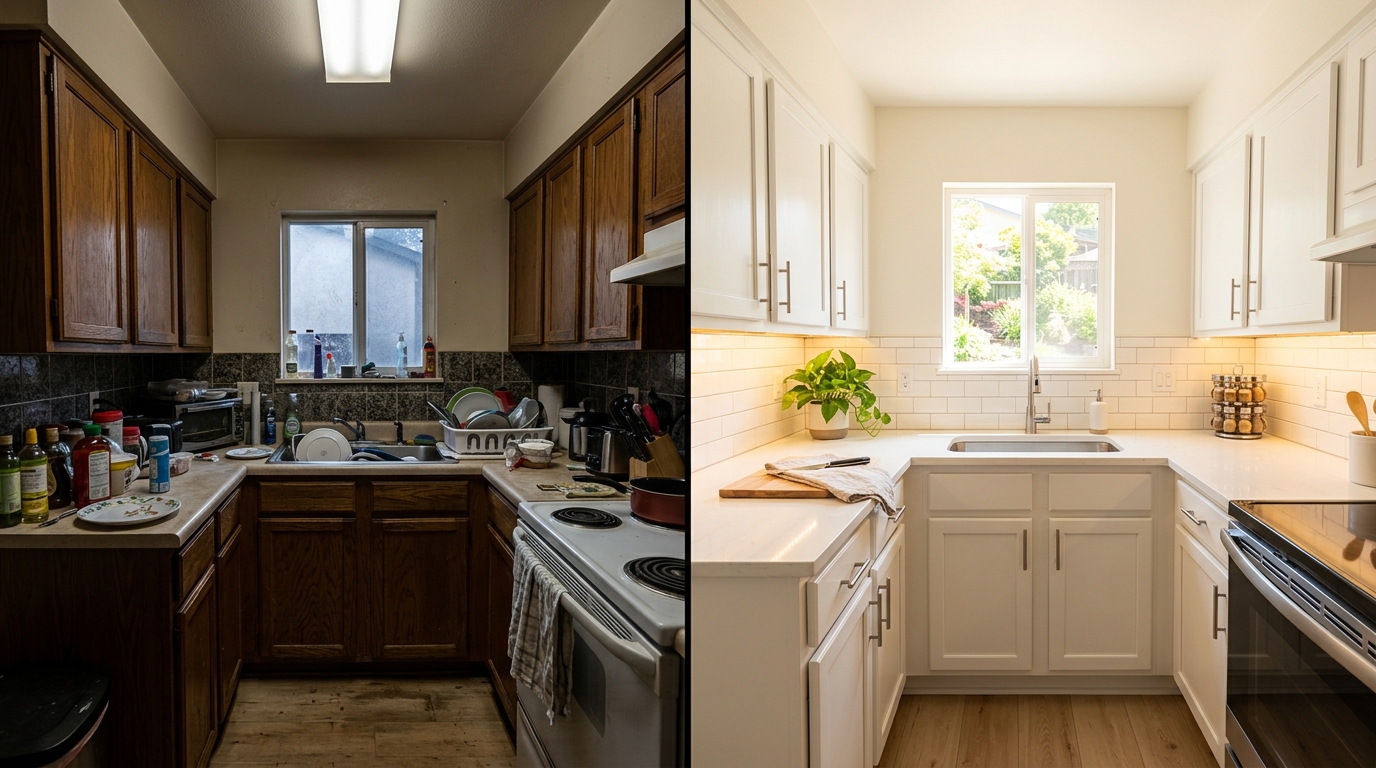
Before and After: What Made the Biggest Difference
Here’s my honest kitchen before and after assessment — ranked by impact:
- Painting the cabinets white: The single highest-impact change. Transformed the dark kitchen before and after comparison more than anything else.
- Under-cabinet lighting: The highest impact per dollar spent. Immediate bright kitchen makeover effect.
- Decluttering countertops: Free, fast, and surprisingly powerful. Made the small kitchen transformation feel real.
- Warm light bulbs: Swapping to 2700K bulbs cost $12 and made the room feel cozy kitchen makeover-worthy.
- Peel-and-stick backsplash: The best “looks expensive, costs almost nothing” upgrade.
The entire space now feels like a completely different kitchen. Friends who visited before and after have asked me if I renovated. I tell them no — I just made smarter, smaller changes.
Budget Breakdown
Here’s a full breakdown of what this affordable kitchen ideas project actually cost:
| Upgrade | Estimated Cost |
| Cabinet & wall paint | $120 |
| Under-cabinet LED lights (3 strips) | $45 |
| Overhead LED panel light | $35 |
| Pendant light (plug-in) | $28 |
| Peel-and-stick backsplash | $55 |
| Countertop contact paper | $22 |
| Cabinet hardware (pulls) | $40 |
| Plants, rug, textiles, decor | $60 |
| Total | $405 |
Under $410 for a cheap kitchen makeover that friends thought was a full renovation. The budget kitchen refresh approach works — if you prioritize the right changes.
What I’d Do Differently Next Time
Every project has lessons, and this one was no different.
- I’d start with lighting, not paint. I painted my cabinets first, then added lighting — and realized the lighting made the paint look even better. Do them together or do lighting first.
- I’d test more paint samples. I got lucky with my warm white choice, but I should have tested at least two or three shades side by side in natural and artificial light before committing.
- I’d skip cheap contact paper. The first countertop contact paper I bought bubbled within two weeks. Spending $10 more on a premium brand made a huge difference in durability.
- I’d invest more in hardware. New cabinet pulls and knobs cost me $40 and made the cabinets look custom. I almost skipped this step and would have regretted it.
What’s absolutely worth spending money on: quality paint, good LED lighting, and premium peel-and-stick materials. What to skip: trendy decor that dates quickly and expensive organizer systems you can DIY for a fraction of the cost.
Final Thoughts
I make breakfast in my kitchen now and actually enjoy it. That sounds small, but it isn’t. The space I used to avoid has become one of my favorite rooms in the house — and I achieved that for under $410 and three weekends of work.
A dark kitchen makeover doesn’t require a contractor, a sledgehammer, or a second mortgage. It requires the right approach: identify your specific problems, address them with targeted cosmetic kitchen updates, and prioritize the changes that give you the highest return.
If you’re living with a gloomy, outdated kitchen and telling yourself you’ll fix it when you can afford a renovation, I want to challenge that thinking. You can afford this. You can start this weekend. And the result will surprise you.
For more budget-friendly home improvement guides and room-by-room makeover inspiration, visit Well Home Life — where we believe you don’t need a bigger budget, just better ideas.
Frequently Asked Questions
How can I brighten a dark kitchen without remodeling?
Start with layered lighting — replace overhead bulbs with warm LEDs and add under-cabinet lights. Then paint walls and cabinets in warm whites and clear countertop clutter. These three changes alone create a dramatic bright kitchen makeover without touching a single wall.
What colors make a kitchen feel brighter?
Warm whites, soft creams, and light sage greens are the best light kitchen paint colors. Avoid cool grays and stark whites, which can feel cold in dim spaces. Pair any light wall color with white or off-white cabinets for a bright kitchen colors effect that looks intentional and polished.
Do under-cabinet lights really help?
Yes — significantly. Under cabinet lights eliminate the shadows that overhead fixtures create on work surfaces. They add functional task lighting and create a warm glow that makes the entire kitchen feel more inviting. Plug-in LED strips are the cheapest and easiest option for most kitchens.
What is the cheapest way to update a kitchen?
Decluttering is free. Painting walls costs $20–$40. Swapping light bulbs costs $12. These three affordable kitchen ideas deliver the most visible results for the least money. If you have a bit more budget, add under-cabinet lights and new cabinet hardware for a complete affordable kitchen refresh under $200.
How do I make a small kitchen feel less depressing?
Clear the countertops first — visual clutter makes small dark kitchen spaces feel even smaller. Then add warm, layered lighting and paint in light colors. Small kitchen transformation results come fastest when you remove things (clutter, dark colors, heavy decor) before you add anything new.
Can peel-and-stick backsplash look expensive?
Absolutely — when you choose the right design and install it carefully. White subway tile and light marble patterns look the most high-end. The key is proper surface prep: clean, dry, and smooth. Premium peel and stick backsplash brands hold up well and are a great renter friendly kitchen upgrade that photographs beautifully.